Migrating from Supabase to PostKit: A Practical Guide

Supabase is a great way to get a PostgreSQL database running in minutes. But as your project grows, you often outgrow the auto-generated migrations and want more control over exactly what SQL runs against your database. PostKit gives you that control — full schema-as-code, session-based migrations, and a deploy pipeline you can reason about.
This guide walks you through bringing a Supabase project into PostKit's migration workflow without disrupting your existing data.
What Changes (and What Doesn't)
| Supabase | PostKit | |
|---|---|---|
| Database | PostgreSQL | PostgreSQL (same!) |
| Schema management | Supabase Studio / SQL editor | Schema files in db/schema/ |
| Migration files | Auto-generated by Studio | pgschema-diffed, hand-reviewable |
| Deployment | Studio apply / CLI | postkit db deploy with dry-run |
| Local dev | Supabase local stack | Docker container (auto, version-matched) |
PostKit does not replace Supabase's auth, storage, or realtime features. If you use PostgREST/Supabase's auto-API, PostKit manages the underlying schema while your application code stays the same.
Step 1: Install PostKit
npm install -g @appritech/postkit
Verify:
postkit --version
Step 2: Initialize PostKit in Your Project
In your project root:
postkit init
This creates:
postkit.config.json— committed, non-sensitive settingspostkit.secrets.json— gitignored, your credentialspostkit.secrets.example.json— template for teammatesdb/schema/— where your schema files will live
Step 3: Add Your Supabase Database as a Remote
Your Supabase project has a direct PostgreSQL connection URL. Find it in the Supabase dashboard under Settings → Database → Connection string → URI.
postkit db remote add supabase "postgres://postgres:[password]@db.[project-ref].supabase.co:5432/postgres" --default
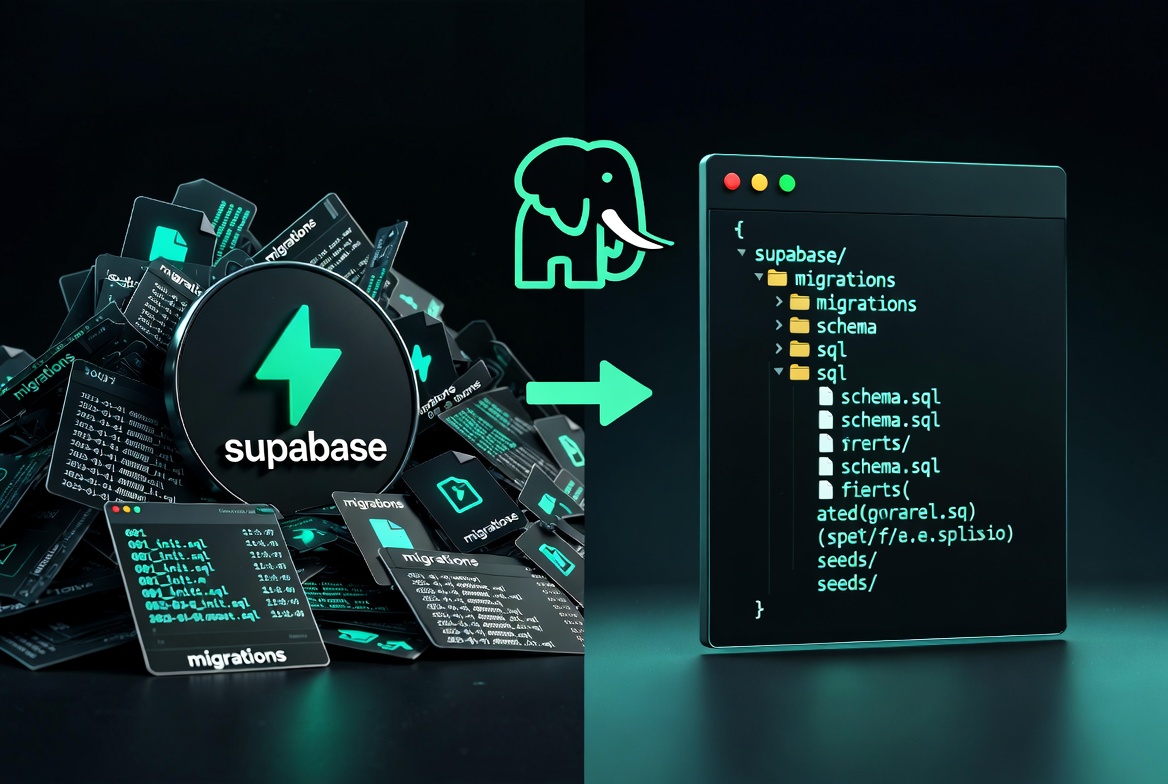
Step 4: Import the Existing Schema
PostKit's db import command connects to your Supabase database, dumps the schema, and organizes it into PostKit's directory structure:
postkit db import --url "postgres://postgres:[password]@db.[project-ref].supabase.co:5432/postgres"
For projects with multiple schemas (e.g. public and a custom app schema):
postkit db import --url "postgres://..." --schemas "public,app"
This automatically:
- Dumps all tables, views, functions, triggers, indexes, and constraints
- Organizes files into
db/schema/public/tables/,views/,functions/, etc. - Extracts roles and schemas into
db/infra/ - Creates a baseline migration in
.postkit/db/migrations/ - Updates
postkit.config.jsonwith the imported schema names
Step 5: Review the Generated Schema Files
After import, your directory looks like:
db/
├── infra/
│   ├── roles.sql          # Any custom roles from Supabase
│   └── schemas.sql        # Schema definitions
└── schema/
    └── public/
        ├── tables/
        │   ├── 001_users.sql
        │   ├── 002_posts.sql
        │   └── ...
        ├── views/
        ├── functions/
        └── grants/
Take a few minutes to review. Supabase often creates helper functions and policies automatically — you'll want to understand what's there before making changes.
Supabase-specific objects to watch for
auth.*schema — Supabase's internal auth tables. Do not touch these — they're managed by Supabase, not your migrations.storage.*schema — same, managed by Supabase.- Row-level security (RLS) policies — pgschema captures these in
grants/files. supabase_adminrole — Supabase-internal role. Ignore or exclude.
If you only want to manage your own schemas (e.g. public and app) and leave auth and storage alone:
// postkit.config.json
{
  "db": {
    "schemas": ["public", "app"]
  }
}
Step 6: Make Your First Change with PostKit
Now the normal workflow applies. Start a session:
postkit db start
Edit a schema file — for example, add a column:
-- db/schema/public/tables/001_users.sql
CREATE TABLE public.users (
  id UUID PRIMARY KEY DEFAULT gen_random_uuid(),
  email TEXT NOT NULL UNIQUE,
  display_name TEXT,              -- new column
  created_at TIMESTAMPTZ DEFAULT NOW()
);
Preview the diff:
postkit db plan
PostKit shows you exactly what SQL will be generated — no surprises.
Apply locally to test:
postkit db apply
Commit and deploy:
postkit db commit --message "add display_name to users"
postkit db deploy
PostKit runs a dry-run first (on a local clone of your Supabase DB), confirms the migration works, then deploys to the real database.
Common Supabase Migration Gotchas
RLS policies after import
Supabase enables RLS on many tables. pgschema captures existing policies, but new policies you add to schema files are planned per-schema in isolation. Policies that reference roles from auth.* (like auth.uid()) are fine — pgschema recognizes these as external references.
Extensions
Supabase pre-installs extensions like uuid-ossp, pgcrypto, and pg_stat_statements. These were captured by import in db/infra/. The CREATE EXTENSION IF NOT EXISTS form means re-running them is safe.
The public schema default
Supabase's public schema has a broad default grant (GRANT ALL ON SCHEMA public TO public). After import, this appears in your grants/ file. You can tighten or customize it.
What to Do With Existing Supabase Migrations
If you have existing Supabase migration files (.sql files in supabase/migrations/), you don't need to port them. PostKit's db import creates a single baseline from the current database state — all prior history is collapsed into that baseline. Future changes go through PostKit's workflow.
Summary
| Step | Command |
|---|---|
| Install PostKit | npm install -g @appritech/postkit |
| Init project | postkit init |
| Add Supabase remote | postkit db remote add supabase "postgres://..." |
| Import existing schema | postkit db import --url "postgres://..." |
| Start developing | postkit db start |
| Preview changes | postkit db plan |
| Apply locally | postkit db apply |
| Deploy to Supabase | postkit db deploy |
Your Supabase database is now under PostKit's session-based migration workflow. Schema changes are reviewed, tested locally, and deployed with a dry-run safety check before they ever touch production.